Use Schematics with React and Add OpenID Connect Authentication in 5 Minutes

Developers love to automate things. It’s what we do for a living for the most part. We create programs that take the tediousness out of tasks. I do a lot of presentations and live demos. Over the past year, I’ve noticed that some of my demos have too many steps to remember. I’ve written them down in scripts, but I’ve recently learned it’s much cooler to automate them with tools powered by Schematics!
Schematics is a library from the Angular CLI project that allows you to manipulate projects with code. You can create/update files and add dependencies to any project that has a package.json file. That’s right, Schematics aren’t just for Angular projects!
Table of Contents
- Create an OIDC App on Okta
- Create a React Schematic
- Schematics: Manipulate Files and Dependencies with Code
- Schematics with React
- Add Dependencies to Your React App with Schematics
- Create, Copy, and Update React Files
- Test Your reactstrap Installer Schematic
- Verify Your React Schematic Works
- Schematics with Angular
- Learn More about React, Schematics, and Secure Authentication
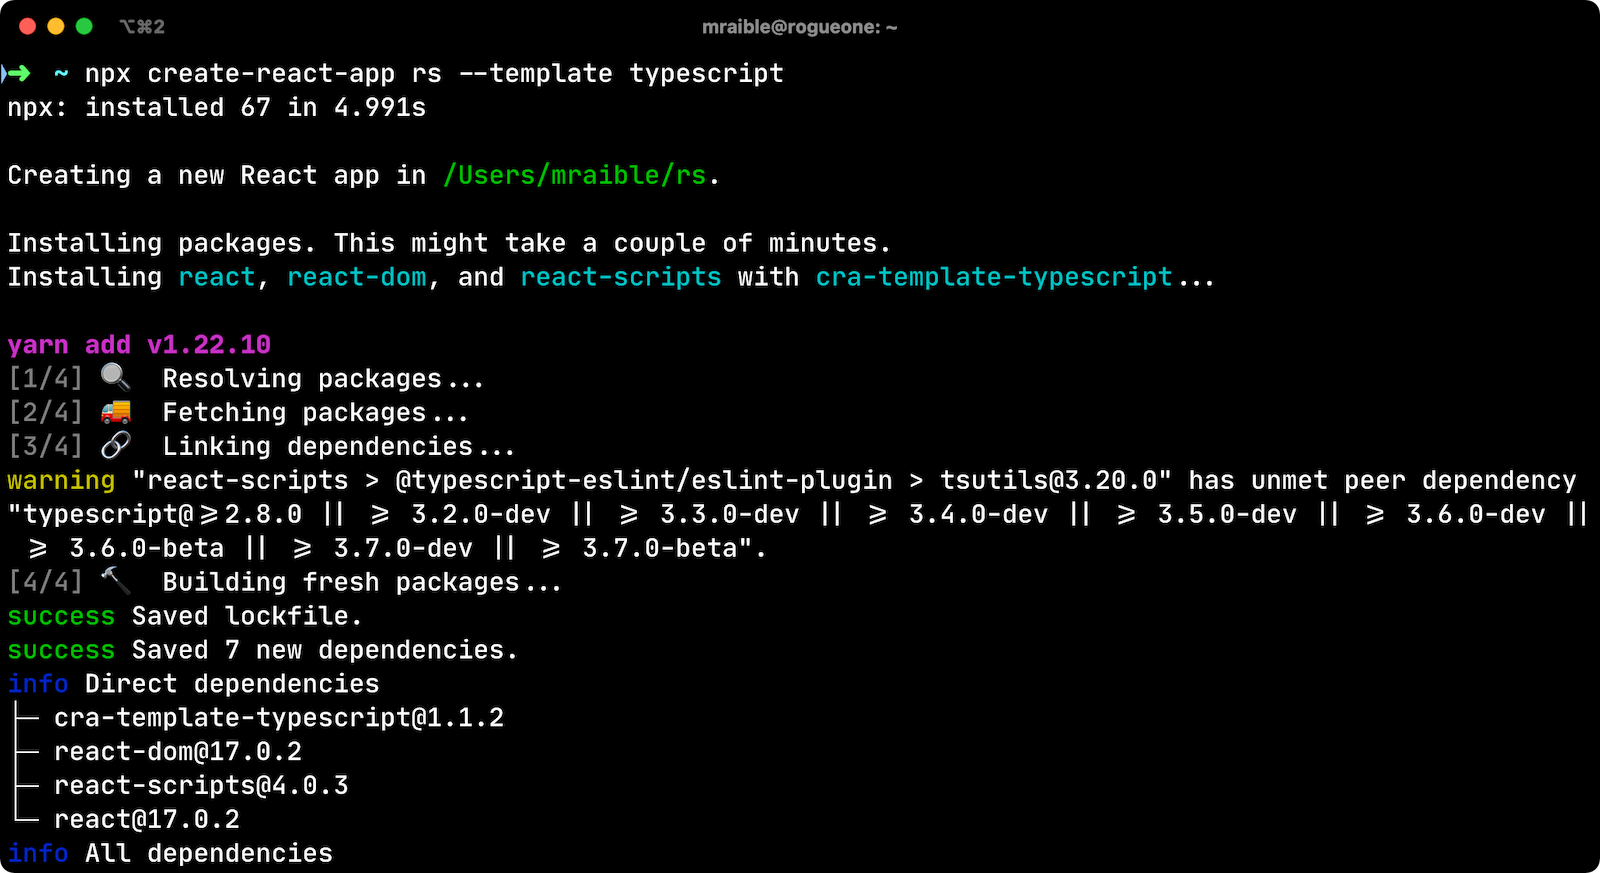
Do you have a minute? I’d love to show you how can use a Schematic I wrote to add authentication to a React app. You’ll need Node.js 10+ installed; then run:
npx create-react-app rs --template typescript

While that process completes, create an OIDC app on Okta.
Why Okta? Because friends don’t let friends write authentication! Okta has Authentication and User Management APIs that greatly reduce your development time. Our API and SDKs make it easy for developers to authenticate, manage, and secure users in any application. Not only that, theirs a free level for developers that gets you up to 1000 active user per month.
Note: In May 2025, the Okta Integrator Free Plan replaced Okta Developer Edition Accounts, and the Okta CLI was deprecated.
We preserved this post for reference, but the instructions no longer work exactly as written. Replace the Okta CLI commands by manually configuring Okta following the instructions in our Developer Documentation.
Create an OIDC App on Okta
Before you begin, you’ll need a free Okta developer account. Install the Okta CLI and run okta register to sign up for a new account. If you already have an account, run okta login.
Then, run okta apps create. Select the default app name, or change it as you see fit.
Choose Single-Page App and press Enter.
Use http://localhost:3000/callback for the Redirect URI and accept the default Logout Redirect URI of http://localhost:3000.
What does the Okta CLI do?
The Okta CLI will create an OIDC Single-Page App in your Okta Org. It will add the redirect URIs you specified and grant access to the Everyone group. It will also add a trusted origin for http://localhost:3000. You will see output like the following when it’s finished:
Okta application configuration:
Issuer:    https://dev-133337.okta.com/oauth2/default
Client ID: 0oab8eb55Kb9jdMIr5d6
NOTE: You can also use the Okta Admin Console to create your app. See Create a React App for more information.
Run the app to make sure it starts on port 3000.
cd rs
npm start
Stop the process (Ctrl+C) and add OIDC authentication to your app with the following commands:
# Install the Schematics CLI
npm install -g @angular-devkit/schematics-cli@0.1102.9

# Add OktaDev's Schematics project
npm i -D @oktadev/schematics@3.4.1

# Configure your app to use OIDC for auth
schematics @oktadev/schematics:add-auth
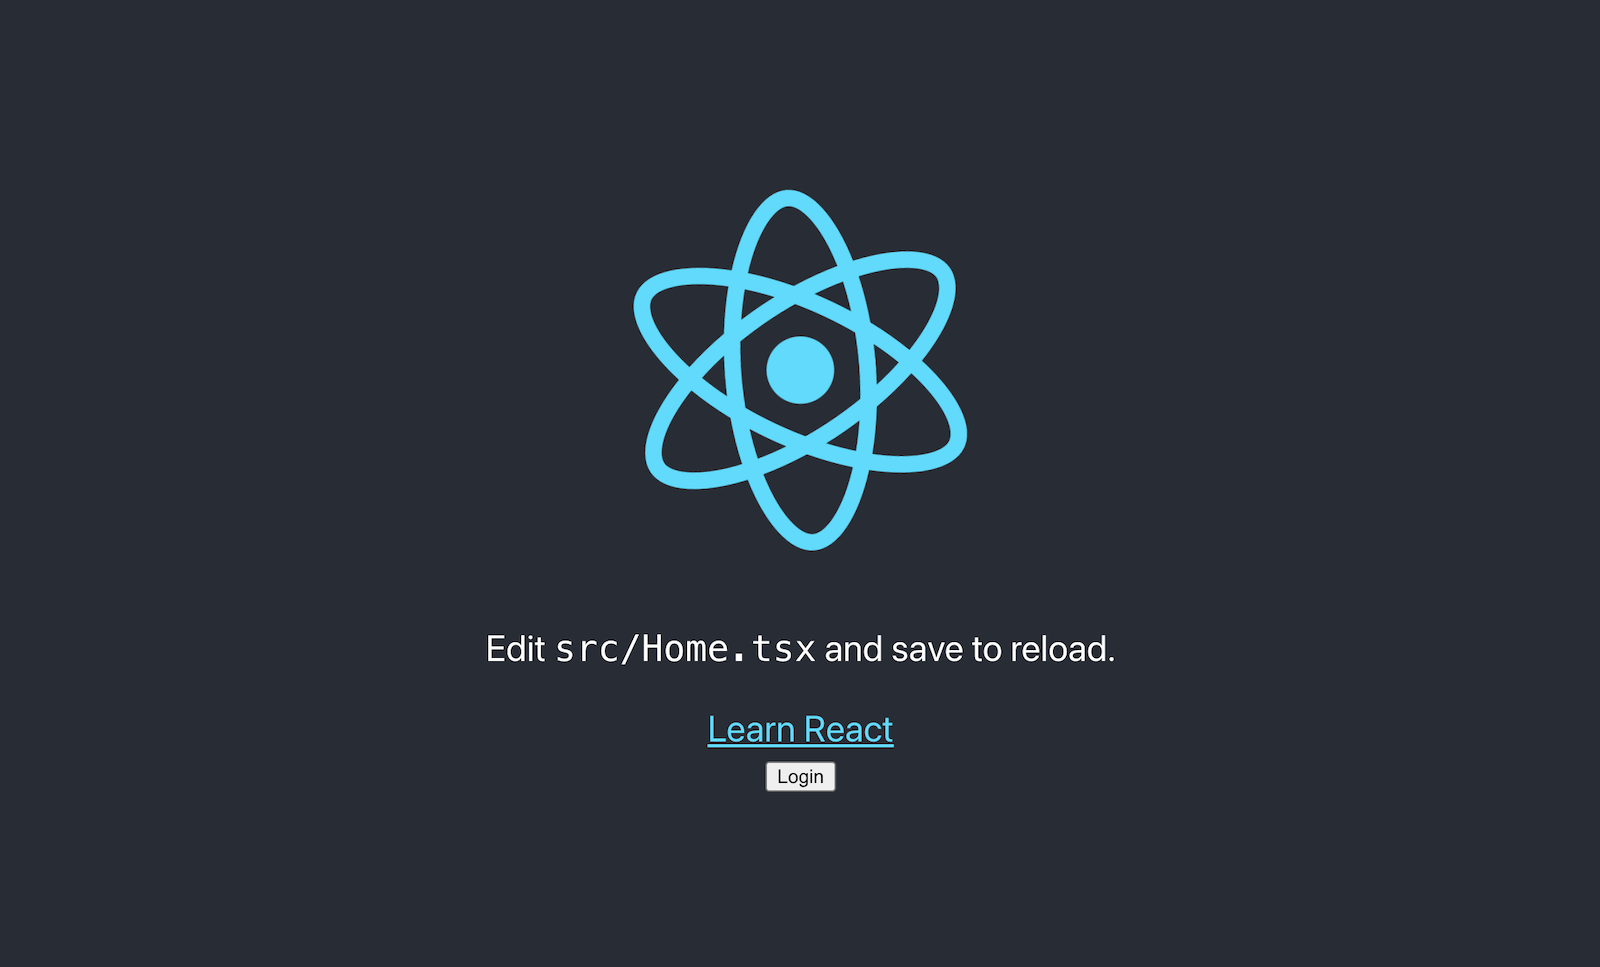
When prompted, enter the issuer and client ID from the OIDC app you just created. When the installation completes, run npm start and marvel at your React app with OIDC authentication!

Click login, enter the credentials you used to signup with Okta, and you’ll be redirected back to your app. This time, a logout button will be displayed.
Create a React Schematic
It’s neat to see a Schematic in action, and it’s fun to write them too! Now I’ll show you how to use Schematics to modify a project created with Create React App.
Why React? Because it’s popular and fun to write apps with (in my experience). Also, Eric Elliot predicts “React Continues to Dominate in 2019” in his Top JavaScript Frameworks and Topics to Learn in 2019.
Bootstrap is a popular CSS framework, and React has support for it via reactstrap. In this tutorial, you’ll learn how to create a schematic that integrates reactstrap. It’s a straightforward example, and I’ll include unit and integrating testing tips.
Schematics: Manipulate Files and Dependencies with Code
Angular DevKit is part of the Angular CLI project on GitHub. DevKit provides libraries that can be used to manage, develop, deploy, and analyze your code. DevKit has a schematics-cli command line tool that you can use to create your own Schematics.
To create a Schematics project, first install the Schematics CLI:
npm i -g @angular-devkit/schematics-cli@0.1102.9
Then run schematics to create a new empty project. Name it rsi as an abbreviation for ReactStrap Installer.
schematics blank --name=rsi
This will create a rsi directory and install the project’s dependencies. There’s a rsi/package.json that handles your project’s dependencies. There’s also a src/collection.json that defines the metadata for your schematics.
{
  "$schema": "../node_modules/@angular-devkit/schematics/collection-schema.json",
  "schematics": {
    "rsi": {
      "description": "A blank schematic.",
      "factory": "./rsi/index#rsi"
    }
  }
}
You can see that the rsi schematic points to a function in src/rsi/index.ts. Open that file and you’ll see the following:
import { Rule, SchematicContext, Tree } from '@angular-devkit/schematics';

export function rsi(_options: any): Rule {
  return (tree: Tree, _context: SchematicContext) => {
    return tree;
  };
}
It’s tested by src/rsi/index_spec.ts.
import { Tree } from '@angular-devkit/schematics';
import { SchematicTestRunner } from '@angular-devkit/schematics/testing';
import * as path from 'path';

const collectionPath = path.join(__dirname, '../collection.json');

describe('rsi', () => {
  it('works', () => {
    const runner = new SchematicTestRunner('schematics', collectionPath);
    const tree = runner.runSchematic('rsi', {}, Tree.empty());

    expect(tree.files).toEqual([]);
  });
});
One neat thing about Schematics is they don’t perform any direct actions on your filesystem. Instead, you specify actions against a Tree. The Tree is a data structure with a set of files that already exist and a staging area (of files that contain new/updated code).
Schematics with React
If you’re familiar with Schematics, you’ve probably seen them used to manipulate Angular projects. Schematics has excellent support for Angular, but they can run on any project if you code it right! Instead of looking for Angular-specifics, you can just look for package.json and a common file structure. CLI tools, like Create React App, that generate projects make this a lot easier to do because you know where files will be created.
Add Dependencies to Your React App with Schematics
The reactstrap docs provide installation instructions.
These are the steps you will automate with the rsi schematic.
npm i bootstrap reactstrap- Import Bootstrap’s CSS
- Import and use reactstrap components
You can use Schematics Utilities to automate adding dependencies, among other things. Start by opening a terminal window and installing schematic-utilities in the rsi project you created.
npm i schematics-utilities@2.0.2
Change src/rsi/index.ts to add bootstrap and reactstrap as dependencies with an addDependencies() function. Call this method from the main rsi() function.
import { Rule, SchematicContext, Tree } from '@angular-devkit/schematics';
import { addPackageJsonDependency, NodeDependency, NodeDependencyType } from 'schematics-utilities';

function addDependencies(host: Tree): Tree {
  const dependencies: NodeDependency[] = [
    { type: NodeDependencyType.Default, version: '4.6.0', name: 'bootstrap' },
    { type: NodeDependencyType.Default, version: '8.9.0', name: 'reactstrap' }
  ];
  dependencies.forEach(dependency => addPackageJsonDependency(host, dependency));
  return host;
}

export function rsi(_options: any): Rule {
  return (tree: Tree, _context: SchematicContext) => {
    addDependencies(tree);
    return tree;
  };
}
Create, Copy, and Update React Files
Create a src/rsi/templates/src directory. You’ll create templates in this directory that already have the necessary reactstrap imports and usage.
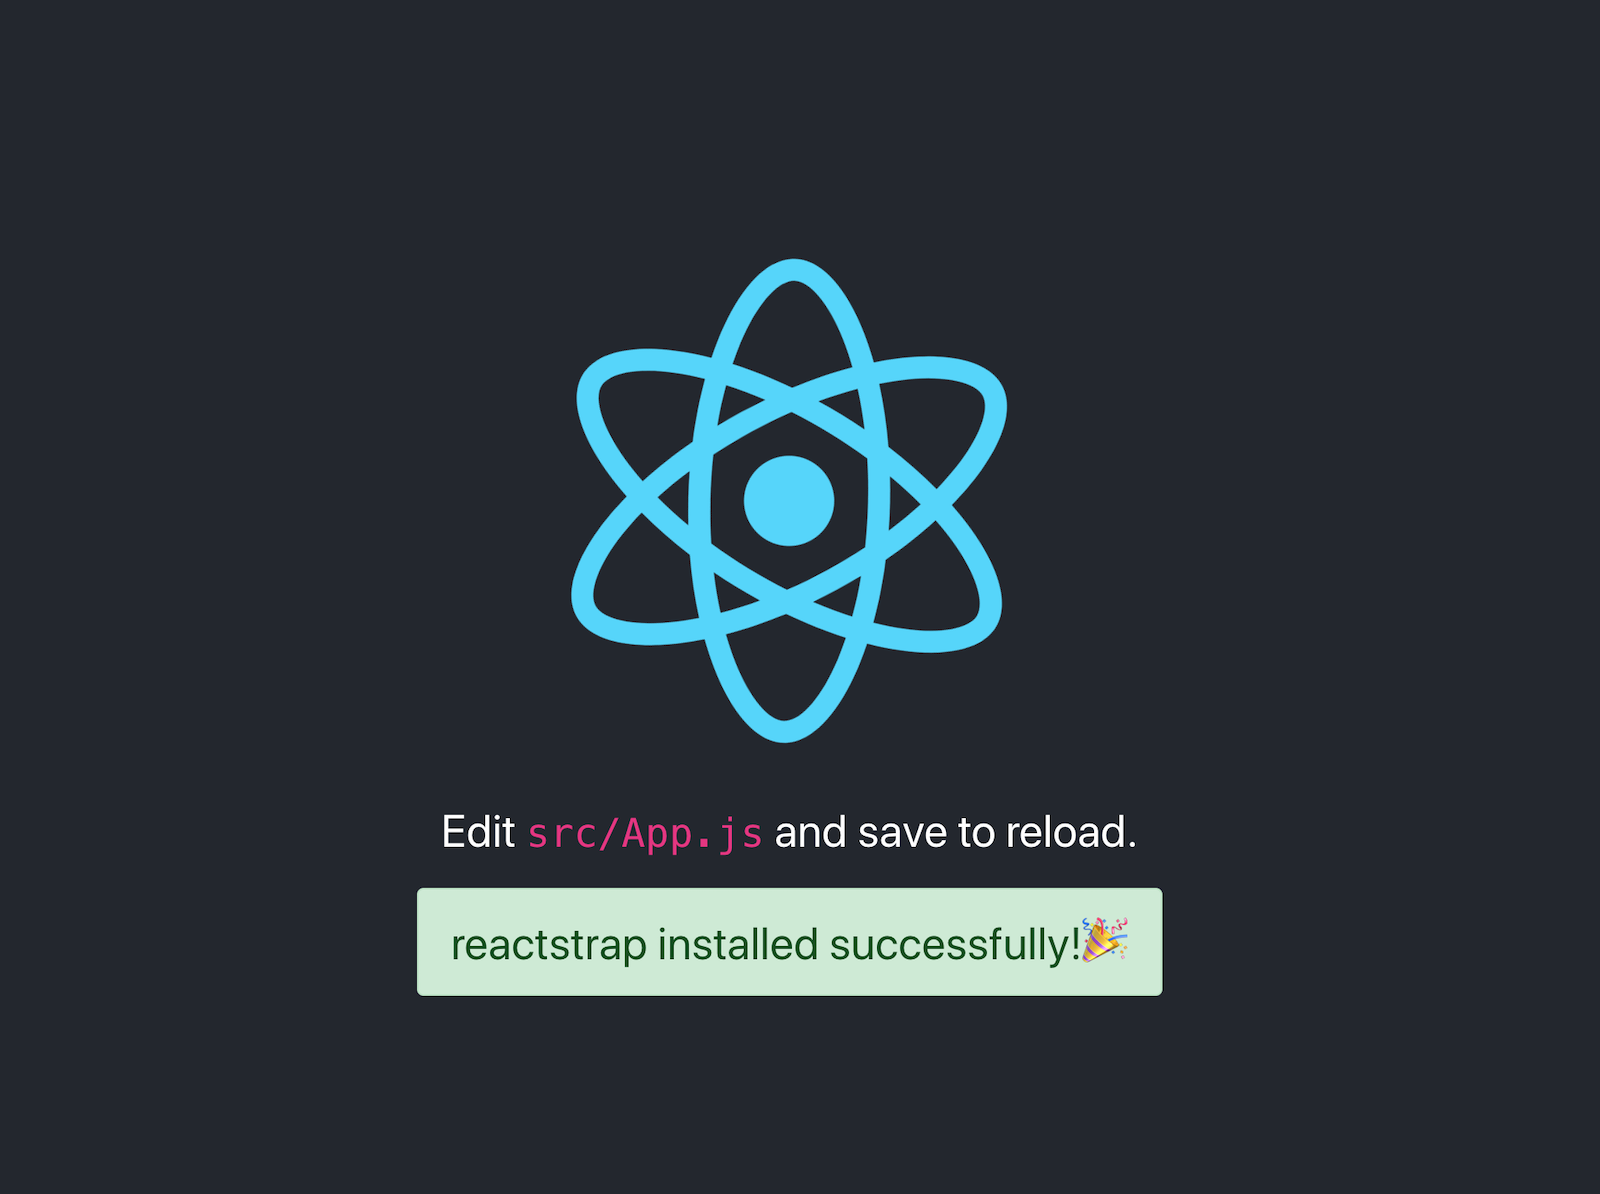
Add an App.js template and put the following Bootstrap-ified code in it.
import React, { Component } from 'react';
import logo from './logo.svg';
import './App.css';
import { Alert } from 'reactstrap';

class App extends Component {
  render() {
    return (
      <div className="App">
        <header className="App-header">
          <img src={logo} className="App-logo" alt="logo" />
          <p>
            Edit <code>src/App.js</code> and save to reload.
          </p>
          <Alert color="success">reactstrap installed successfully!
            <span role="img" aria-label="hooray">🎉</span>
            </Alert>
        </header>
      </div>
    );
  }
}

export default App;
Create an index.js file in the same directory to add the Bootstrap CSS import.
import React from 'react';
import ReactDOM from 'react-dom';
import './index.css';
import App from './App';
import reportWebVitals from './reportWebVitals';
import 'bootstrap/dist/css/bootstrap.min.css';

ReactDOM.render(
  <React.StrictMode>
    <App />
  </React.StrictMode>,
  document.getElementById('root')
);

// If you want to start measuring performance in your app, pass a function
// to log results (for example: reportWebVitals(console.log))
// or send to an analytics endpoint. Learn more: https://bit.ly/CRA-vitals
reportWebVitals();
Modify the rsi() function in src/rsi/index.ts to copy these templates and overwrite existing files.
import { Rule, SchematicContext, Tree, apply, url, template, move, mergeWith, MergeStrategy } from '@angular-devkit/schematics';
import { addPackageJsonDependency, NodeDependency, NodeDependencyType } from 'schematics-utilities';
import { normalize } from 'path';

function addDependencies(host: Tree): Tree {
  const dependencies: NodeDependency[] = [
    { type: NodeDependencyType.Default, version: '4.6.0', name: 'bootstrap' },
    { type: NodeDependencyType.Default, version: '8.9.0', name: 'reactstrap' }
  ];
  dependencies.forEach(dependency => addPackageJsonDependency(host, dependency));
  return host;
}

export function rsi(_options: any): Rule {
  return (tree: Tree, _context: SchematicContext) => {
    addDependencies(tree);

    const movePath = normalize('./src');
    const templateSource = apply(url('./templates/src'), [
      template({..._options}),
      move(movePath)
    ]);
    const rule = mergeWith(templateSource, MergeStrategy.Overwrite);
    return rule(tree, _context);
  };
}
Test Your reactstrap Installer Schematic
In order to add dependencies to package.json, you have to provide one in your tests. Luckily, TypeScript 2.9 added JSON imports, so you can create a testable version of package.json (as generated by Create React App) and add it to Tree before you run the test.
In the rsi/tsconfig.json file, under compiler options, add these two lines:
{
  "compilerOptions": {
    ...
    "resolveJsonModule": true,
    "esModuleInterop": true
  }
}
Create react-pkg.json in the same directory as index_spec.ts.
{
  "name": "rsi-test",
  "version": "0.1.0",
  "private": true,
  "dependencies": {
    "react": "^17.0.2",
    "react-dom": "^17.0.2",
    "react-scripts": "4.0.3"
  }
}
Now you can import this file in your test and add it to a testable tree. This allows you to verify the files are created, as well as their contents. Modify src/rsi/index_spec.ts to match the code below.
import { HostTree } from '@angular-devkit/schematics';
import { SchematicTestRunner, UnitTestTree } from '@angular-devkit/schematics/testing';
import * as path from 'path';
import packageJson from './react-pkg.json';

const collectionPath = path.join(__dirname, '../collection.json');

describe('rsi', () => {
  it('works', (done) => {
    const tree = new UnitTestTree(new HostTree);
    tree.create('/package.json', JSON.stringify(packageJson));

    const runner = new SchematicTestRunner('schematics', collectionPath);
    runner.runSchematicAsync('rsi', {}, tree).toPromise().then(tree => {
      expect(tree.files.length).toEqual(3);
      expect(tree.files.sort()).toEqual(['/package.json', '/src/App.js', '/src/index.js']);

      const mainContent = tree.readContent('/src/index.js');
      expect(mainContent).toContain(`import 'bootstrap/dist/css/bootstrap.min.css'`);
      done();
    }, done.fail);
  });
});
Run npm test and rejoice when everything passes!
Verify Your React Schematic Works
You can verify your schematic works by creating a new React project with Create React App’s defaults, installing your schematic, and running it.
npx create-react-app test
Run npm link /path/to/rsi to install your reactstrap installer. You might need to adjust the rsi project’s path to fit your system.
cd test
npm link ../rsi
Run schematics rsi:rsi and you should see files being updated.
UPDATE package.json (861 bytes)
UPDATE src/App.js (620 bytes)
UPDATE src/index.js (546 bytes)
Run npm install followed by npm start and bask in the glory of your React app with Bootstrap installed!

Schematics with Angular
Angular CLI is based on Schematics, as are its PWA and Angular Material modules. I won’t go into Angular-specific Schematics here, you can read Use Angular Schematics to Simplify Your Life for that.
This tutorial includes information on how to add prompts, how to publish your Schematic, and it references the OktaDev Schematics project that I helped develop. This project’s continuous integration uses a test-app.sh script that creates projects with each framework’s respective CLI. For example, here’s the script that tests creating a new Create React App’s project, and installing the schematic.
elif [ "$1" == "react" ] || [ "$1" == "r" ]
then
  npx create-react-app react-app
  cd react-app
  npm install ../../oktadev*.tgz
  schematics @oktadev/schematics:add-auth --issuer=$issuer --clientId=$clientId
  CI=true npm test
This project has support for TypeScript-enabled React projects as well.
Learn More about React, Schematics, and Secure Authentication
I hope you’ve enjoyed learning how to create Schematics for React. I found the API fairly easy to use and was delighted by its testing support too. If you want to learn more about Okta’s React SDK, see its docs.
You can find the example schematic for this tutorial on GitHub.
We’ve written a few blog posts on Schematics and React over on the Okta Developer blog. You might enjoy them too.
- Use Angular Schematics to Simplify Your Life
- Use Schematics with Vue and Add Authentication in 5 Minutes
- Build a Basic CRUD App with Node and React
- Use React and Spring Boot to Build a Simple CRUD App
- Bootiful Development with Spring Boot and React
- If It Ain’t TypeScript It Ain’t Sexy
Follow @oktadev on Twitter to learn more about our leading-edge thoughts on Java, .NET, Angular, React, and JavaScript.
Changelog:
- Apr 15, 2021: Updated to use React 17 and OktaDev Schematics v3.4.1. You can see the changes to this post in okta-blog#707; example app changes are in react-schematics-example#1.
Okta Developer Blog Comment Policy
We welcome relevant and respectful comments. Off-topic comments may be removed.