Build a CRUD-y SPA with Node and Angular
Even before the release of Angular 6, Angular had gone through some changes over the years. The biggest one was the jump from AngularJS (v1.x) to Angular (v2+), which included a lot of breaking syntax changes and made TypeScript the default language instead of JavaScript. TypeScript is actually a superset of JavaScript, but it allows you to have strongly typed functions and variables, and it will get compiled down to JavaScript so that it can still run in your browser. Given the popularity of of Angular and Node, it wouldn’t be shocking if you were considering this stack for your next project.
Today I’ll show you how you to build a secure single-page app with basic CRUD functionality. You’ll use Okta’s OpenID Connect (OIDC) API to handle authentication. Okta provides a simple to use Angular SDK to get you up and running very quickly. On the backend, I’ll show you how to use the Okta JWT Verifier to ensure that the user is properly authenticated before serving any sensitive content.
We’ll be working with Angular 6 for this project, so you can get a feel for some of the changes and news features (read more about them in our Angular 6: What’s New, and Why Upgrade? post).
Let’s get started!
Create Your Angular 6 App
The Angular team maintains a wonderful command line interface called the Angular CLI that makes creating new Angular apps a breeze. It also has a ton of blueprints for generating new classes, components, services, and more. To install it with npm, run the following command:
npm i -g @angular/cli@6.0.8
Note: I’m including version numbers used at the time of writing to help ensure this tutorial works in the future. It’s possible that newer versions may still work, but some adjustments might be necessary.
You should now have the CLI installed as a command called ng. To bootstrap a new app, type the following:
ng new okta-node-angular-example
cd okta-node-angular-example
Angular CLI will automatically install packages for you after creating the folder with the bare project. It will also initialize a git repository for you with an initial commit ready to go, so you can start tracking changes very easily.
To start the app, run the following:
npm start
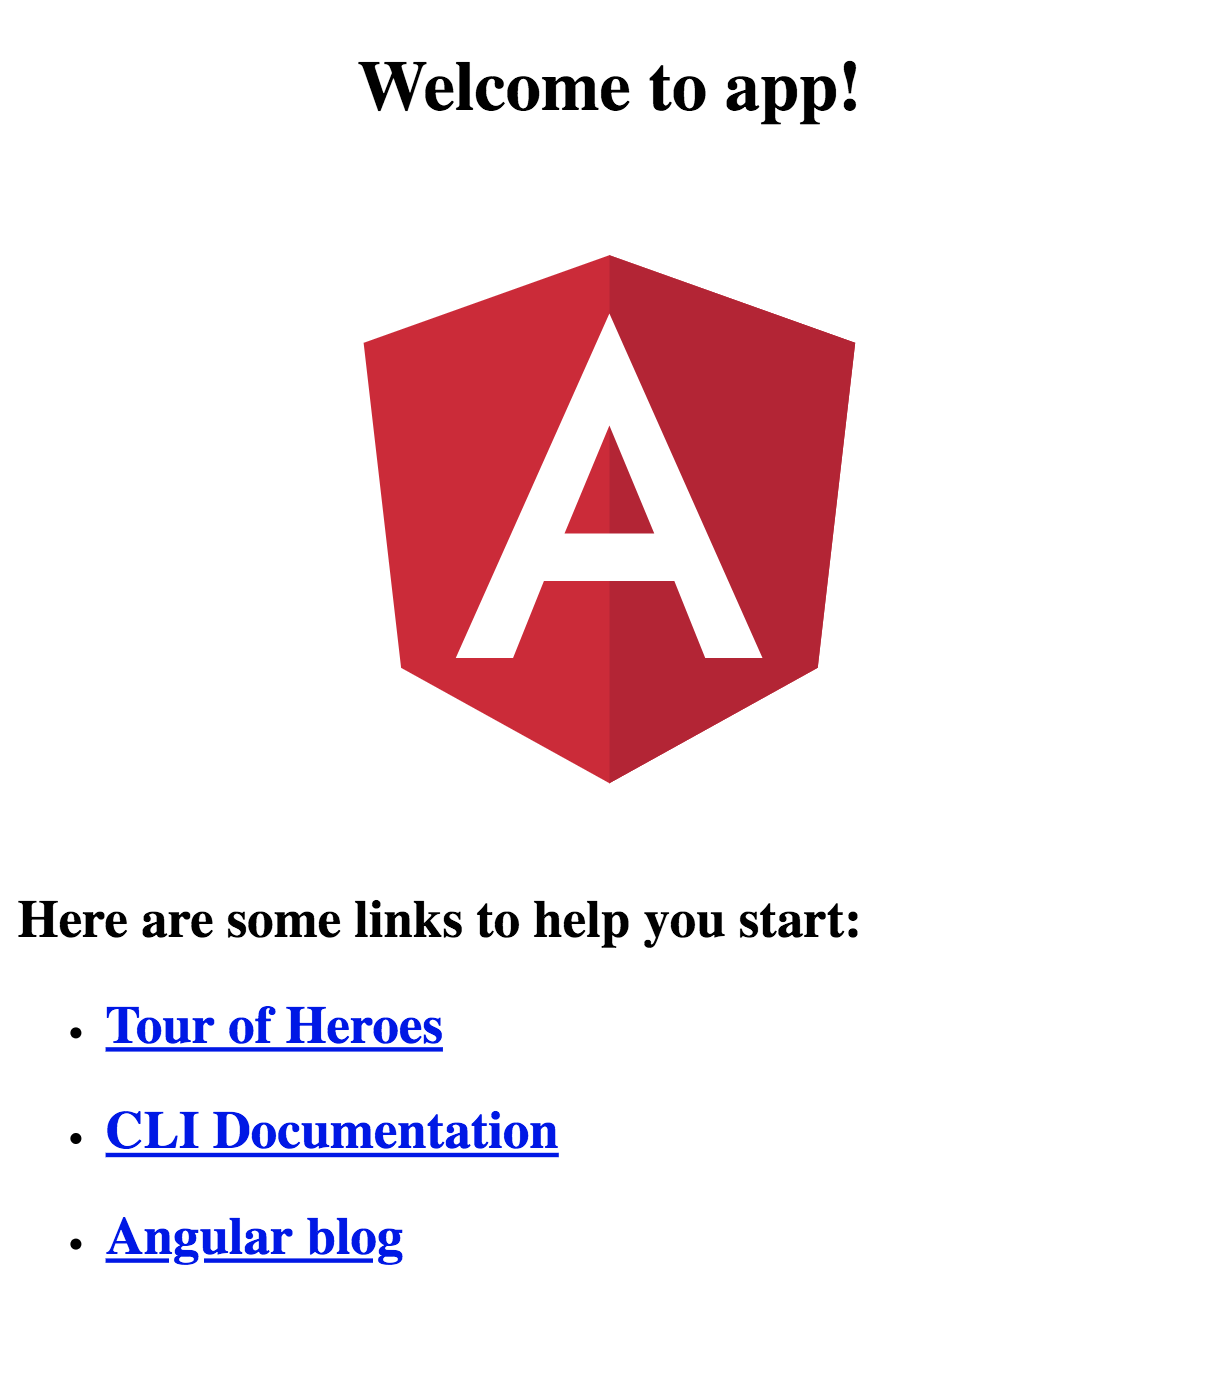
You should now be able to access a very simple default app at http://localhost:4200. When you make changes to the code, the page will automatically refresh with the latest changes.
Create a Basic Homepage with Material UI
To keep things looking nice without writing a lot of extra CSS, you can use a UI framework. The Angular team at Google maintains Angular Material, a great framework for Angular that implements Google’s Material Design principles.
To add the dependencies needed for Angular Material, run the following command:
npm i @angular/material@6.4.1 @angular/cdk@6.4.1 hammerjs@2.0.8
The idea here will be to make an app bar across the top of the page that will be used for navigation. This will stay consistent throughout the app. The part that will change will be below and will vary from page to page. For now, create a very basic homepage component.
ng generate component home-page
This creates a few new files: one for the component’s TypeScript logic, one for the CSS, one for the HTML template, and one for testing the component.
To keep this super simple, just change the template to look like this:
src/app/home-page/home-page.component.html
<h1>Welcome Home!</h1>
You can leave the other generated files the same.
In Angular, you need to add new components to your app’s module. This was done automatically for you with the HomePageComponent, but you’ll need to add a few more to set up Angular Material.
Right now, just add the Toolbar module and the animations module (the following diff also shows you the HomePageComponent that should have been added for you already):
src/app/app.module.ts
@@ -1,14 +1,20 @@
 import { BrowserModule } from '@angular/platform-browser';
+import { BrowserAnimationsModule } from '@angular/platform-browser/animations';
 import { NgModule } from '@angular/core';
+import { MatToolbarModule } from '@angular/material';

 import { AppComponent } from './app.component';
+import { HomePageComponent } from './home-page/home-page.component';

 @NgModule({
   declarations: [
-    AppComponent
+    AppComponent,
+    HomePageComponent
   ],
   imports: [
-    BrowserModule
+    BrowserModule,
+    BrowserAnimationsModule,
+    MatToolbarModule,
   ],
   providers: [],
   bootstrap: [AppComponent]
Angular Material uses Hammer.JS for better touchscreen support. You already added the dependency earlier, so to add it to the page all you need to do is import it at the top of the app’s entry script.
src/main.ts
import 'hammerjs';
For the CSS, the default entry point is src/styles.css, but each component also has its own CSS file for styles specific to that component. To finish setting up Angular Material and set some decent defaults to your page, add these styles:
src/styles.css
@import "~@angular/material/prebuilt-themes/indigo-pink.css";
@import "https://fonts.googleapis.com/icon?family=Material+Icons";

body {
  margin: 0;
  font-family: Roboto, sans-serif;
}

* {
  box-sizing: border-box;
}
I went with indigo-pink, but there are a couple other prebuilt themes if you want something a little different. Here are the other prebuilt options at the time of this writing:
deeppurple-amber.csspink-bluegrey.csspurple-green.css
The toolbar itself is pretty simple. Go ahead and rewrite the app component template to look like this:
src/app/app.component.html
<mat-toolbar color="primary">
  <span>{{ title }}</span>
</mat-toolbar>

<main>
  <app-home-page></app-home-page>
</main>
For now, main just contains the home page you created. Later on, you’ll be replacing that with a router so that when the URL changes it renders a different page there.
The mat-toolbar component was defined earlier in the MatToolbarModule you added to the app module.
To fix the padding on the page, change the app’s CSS like so:
src/app/app.component.css
main {
  padding: 16px;
  width: 100%;
}
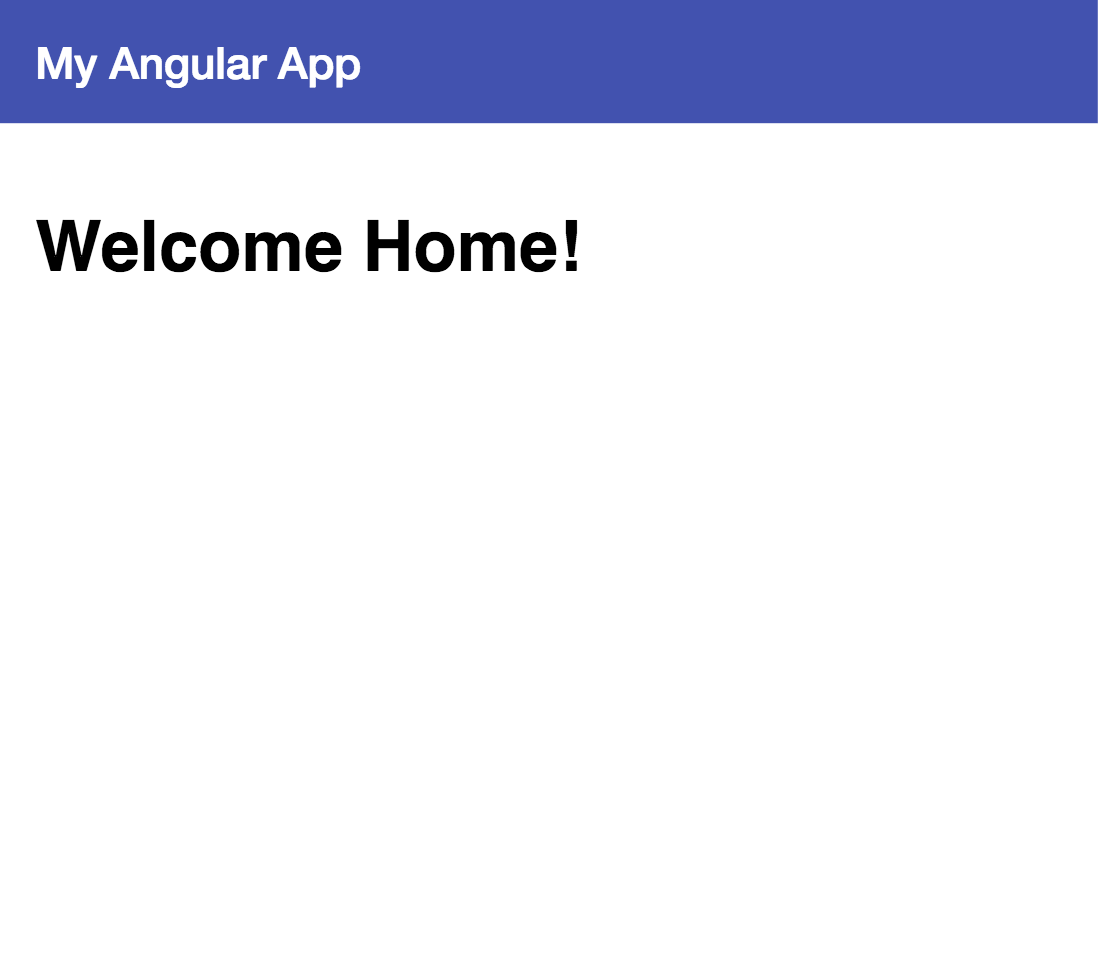
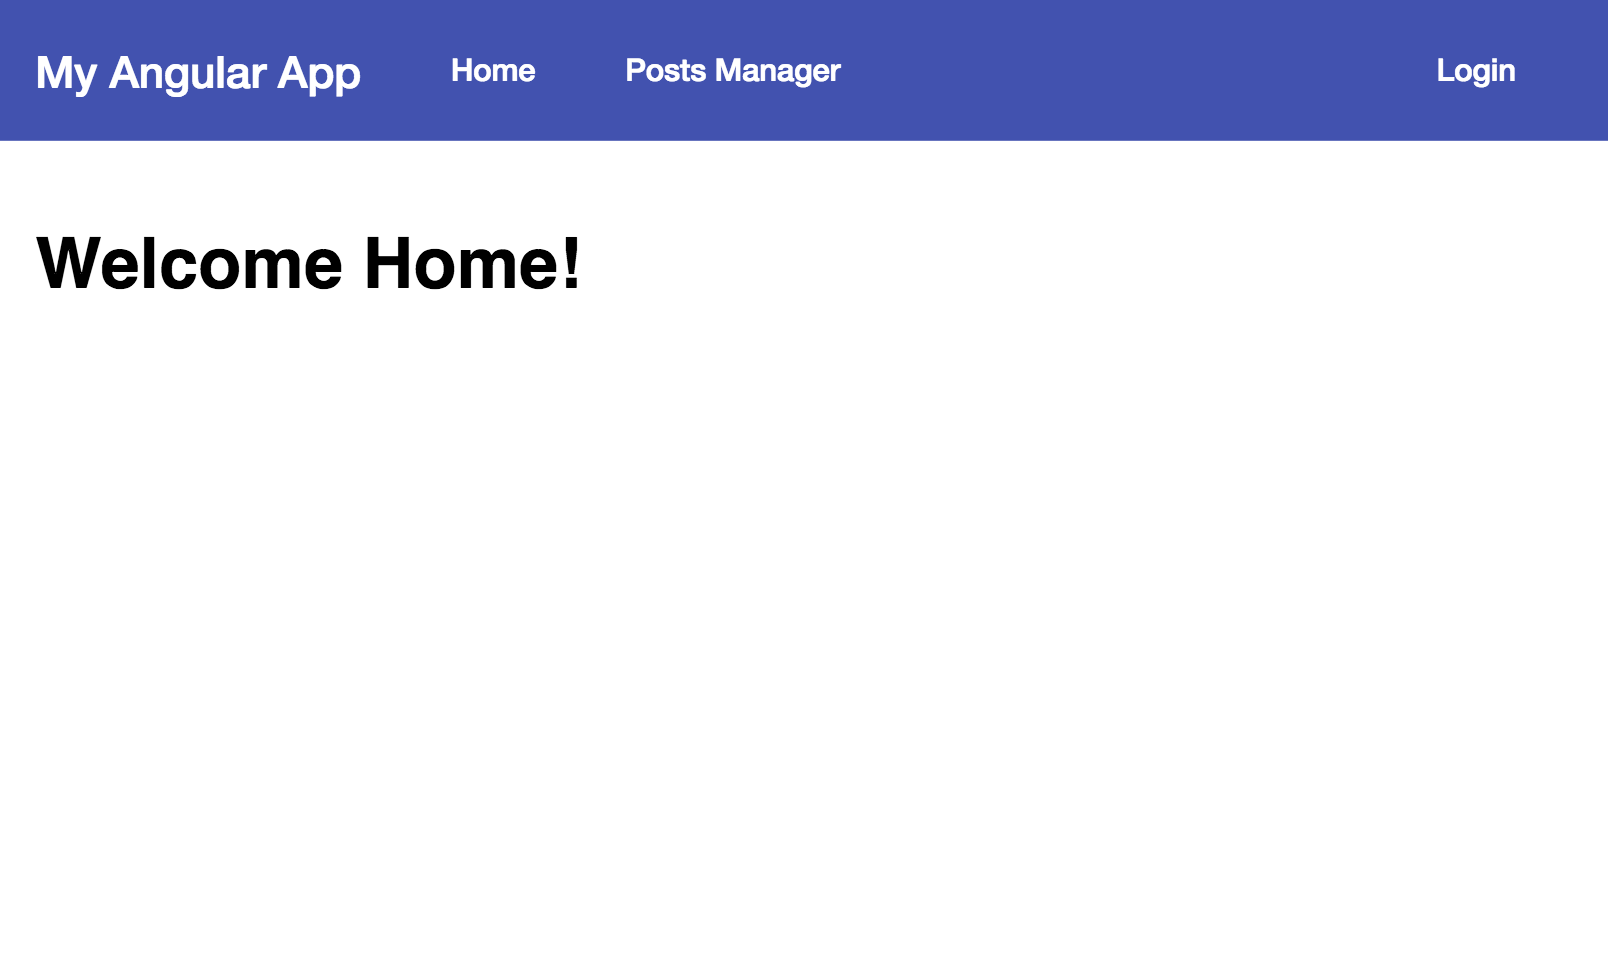
That should be it to get a basic homepage up and running. Your site should now look like this:
Add Authentication to Your Node + Angular App with Okta
You would never ship your new app out to the Internet without secure identity management, right? Well, Okta makes that a lot easier and more scalable than what you’re probably used to. Okta is a cloud service that allows developers to create, edit, and securely store user accounts and user account data, and connect them with one or multiple applications. Our API enables you to:
- Authenticate and authorize your users
- Store data about your users
- Perform password-based and social login
- Secure your application with multi-factor authentication
- And much more! Check out our product documentation
If you don’t already have one, sign up for a forever-free developer account. You’ll be given an Organization URL when you sign up, which will be how you log in to your developer console. After you log in to your developer console, navigate to Applications, then click Add Application. Select Single-Page App, then click Next.
Since the app generated from Angular CLI runs on port 4200 by default, you should set that as the Base URI and Login Redirect URI. Your settings should look like the following:
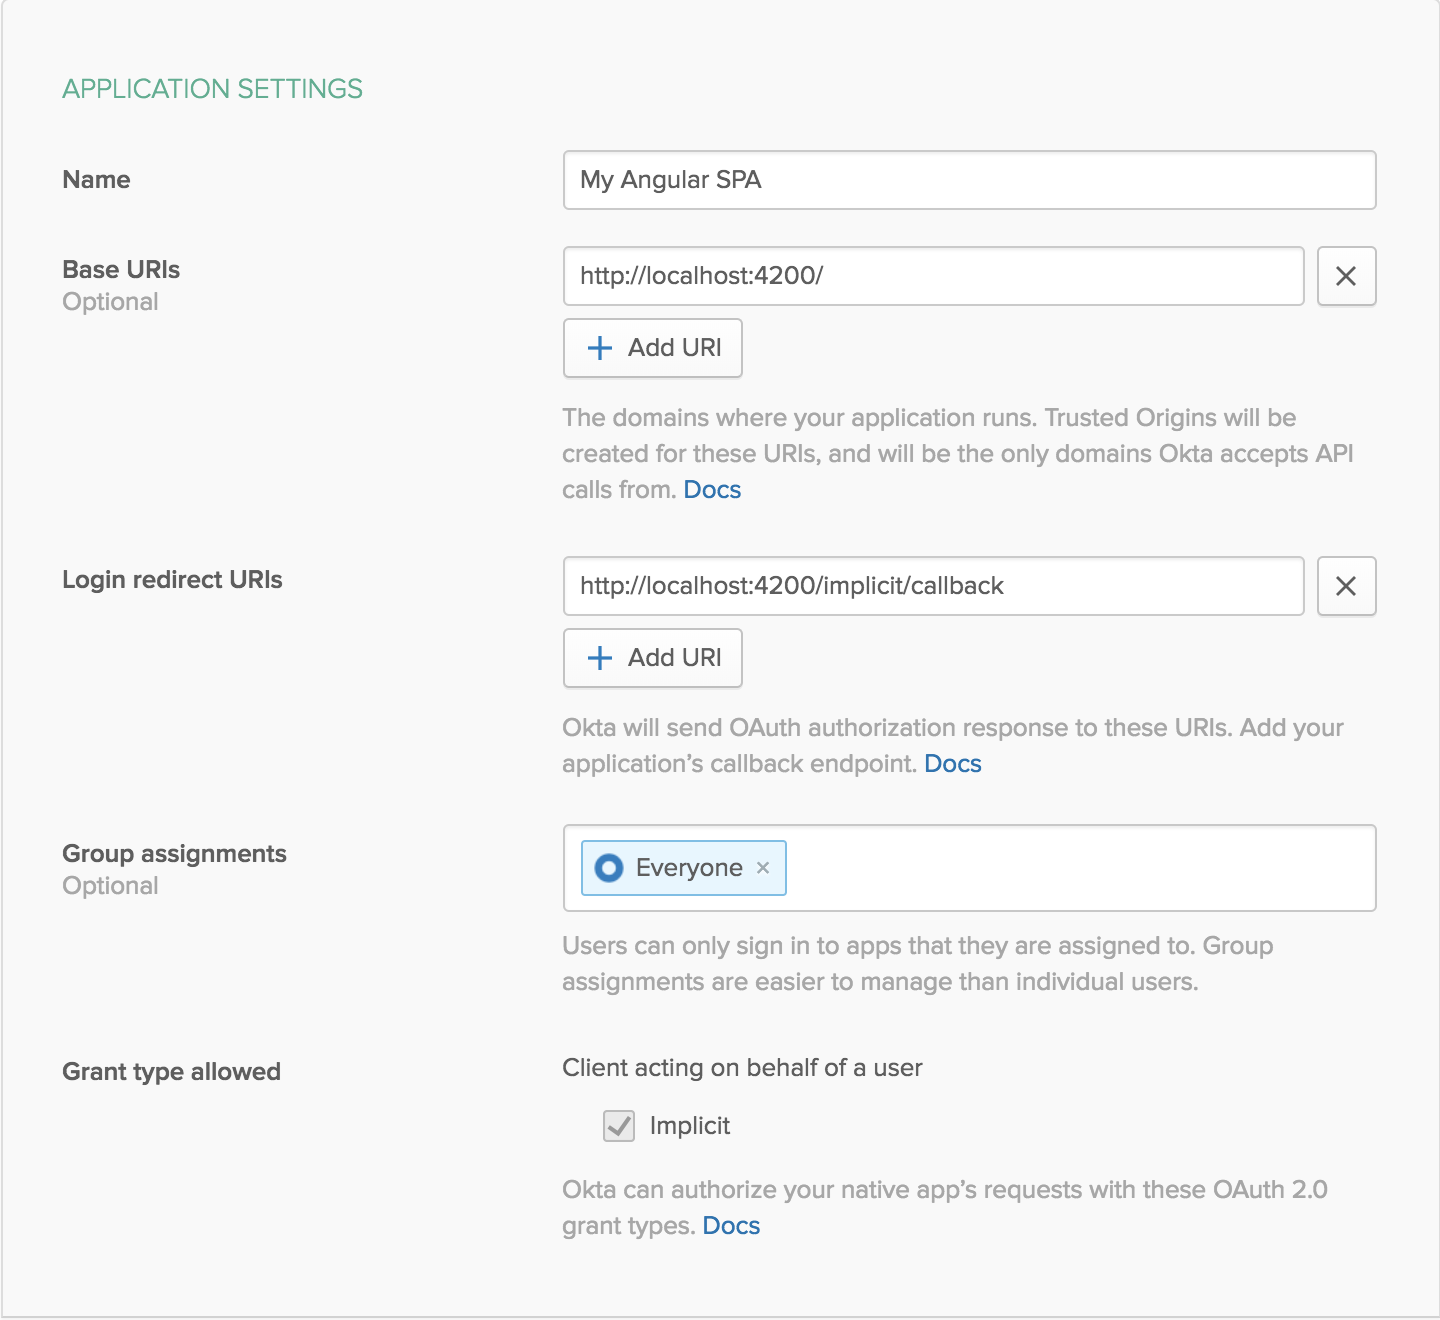
Click Done to save your app, then copy your Client ID.
Create a new file in your project called src/environments/.env.js. In it you should add two variables:
- oktaOrgURL: This will be the organization URL you received when you signed up for Okta:
https://{yourOktaDomain} - oktaClientId: This is the Client ID you received when creating the new application in the Okta Developer Console
You’ll also be using this file in the Node server later, which won’t be using TypeScript, so make sure this uses module.exports instead of the es6 export syntax:
src/environments/.env.js
module.exports = {
  oktaOrgURL: '{yourOktaDomain}',
  oktaClientId: '{clientId}'
};
Angular CLI by default loads environment variables for development and production in two separate files that are stored in source control. To keep sensitive information out of source control and make it so that others can reuse the code easily, you can import this newly created file inside both of those. Prevent it from getting added to git by adding it to .gitignore:
echo .env.js >> .gitignore
Now add it to your dev and production environments:
src/environments/environment.ts
import dotenvVariables from './.env.js';

export const environment = {
  production: false,
  ...dotenvVariables
};
src/environments/environment.prod.ts
import dotenvVariables from './.env.js';

export const environment = {
  production: true,
  ...dotenvVariables
};
The easiest way to add Authentication with Okta to an Angular app is to use Okta’s Angular SDK. It was written for an older version of RxJS, so you’ll need to add rxjs-compat as well to allow it to work with the older modules.
npm i @okta/okta-angular@1.0.1 rxjs-compat@6.2.2
I’ll show you how to create a Post Manager. For now, just let Angular CLI create a component for you:
ng g c posts-manager
To get Okta Angular set up, you’ll need to import the module in your app module. You’ll also need to create a route for the callback, so now would also be a good time to add routes for your different pages. You’ll also need to add the MatButtonModule in order to create buttons (and links that look like buttons) in your app.
src/app.module.ts
import { Routes, RouterModule } from '@angular/router';
import {
  MatToolbarModule,
  MatButtonModule,
} from '@angular/material';
import { OktaAuthGuard, OktaAuthModule, OktaCallbackComponent } from '@okta/okta-angular';

import { environment } from '../environments/environment';
import { AuthGuard } from './auth.guard';
import { HomePageComponent } from './home-page/home-page.component';
import { PostsManagerComponent } from './posts-manager/posts-manager-component';

const oktaConfig = {
  issuer: `${environment.oktaOrgURL}/oauth2/default`,
  redirectUri: `${window.location.origin}/implicit/callback`,
  clientId: environment.oktaClientId,
};

const appRoutes: Routes = [
  {
    path: '',
    component: HomePageComponent,
  },
  {
    path: 'posts-manager',
    component: PostsManagerComponent,
    canActivate: [OktaAuthGuard],
  },
  {
    path: 'implicit/callback',
    component: OktaCallbackComponent,
  },
];

// Later on in the @NgModule decorator:

@NgModule({
  // ...
  imports: [
    // After the other imports already in the file...
    MatButtonModule,
    RouterModule.forRoot(appRoutes),
    OktaAuthModule.initAuth(oktaConfig),
  ],
  providers: [OktaAuthGuard],
  // ...
})
// ...
The OktaAuthGuard provider will make it so that when you try to go to the Posts Manager page, you will be sent to Okta for authentication. You should only be able to load the page if you’re securely authenticated.
You’ll need to modify your app component in a few ways as well. For the toolbar, you’ll want to add some navigation links and a button to log in and out of the app. Also, instead of always displaying the homepage component, you’ll give the router handle that by giving it an outlet.
src/app/app.component.html
<mat-toolbar color="primary">
  <span class="title">{{ title }}</span>

  <a mat-button routerLink="/">Home</a>
  <a mat-button routerLink="/posts-manager">Posts Manager</a>

  <span class="spacer"></span>

  <button *ngIf="!isAuthenticated" mat-button (click)="login()">Login</button>
  <button *ngIf="isAuthenticated" mat-button (click)="logout()">Logout</button>
</mat-toolbar>

<main>
  <router-outlet></router-outlet>
</main>
Now add some styles to the end of the app component’s CSS file make it so the login button appears on the far right, and there’s a little space between the app’s title and the navigation links:
src/app/app.component.css
.title {
  margin-right: 16px;
}

.spacer {
  flex: 1;
}
The component class at this point doesn’t actually know whether it’s authenticated or not though, so isAuthenticated in the template will just always be falsy. There’s also no login or logout function yet. To add those, make the following changes to your app component:
src/app/app.component.ts
@@ -1,10 +1,30 @@
-import { Component } from '@angular/core';
+import { Component, OnInit } from '@angular/core';
+import { OktaAuthService } from '@okta/okta-angular';

 @Component({
   selector: 'app-root',
   templateUrl: './app.component.html',
   styleUrls: ['./app.component.css']
 })
-export class AppComponent {
+export class AppComponent implements OnInit {
   title = 'My Angular App';
+  isAuthenticated: boolean;
+
+  constructor(public oktaAuth: OktaAuthService) {
+    this.oktaAuth.$authenticationState.subscribe(
+      (isAuthenticated: boolean) => this.isAuthenticated = isAuthenticated
+    );
+  }
+
+  async ngOnInit() {
+    this.isAuthenticated = await this.oktaAuth.isAuthenticated();
+  }
+
+  login() {
+    this.oktaAuth.loginRedirect();
+  }
+
+  logout() {
+    this.oktaAuth.logout();
+  }
 }
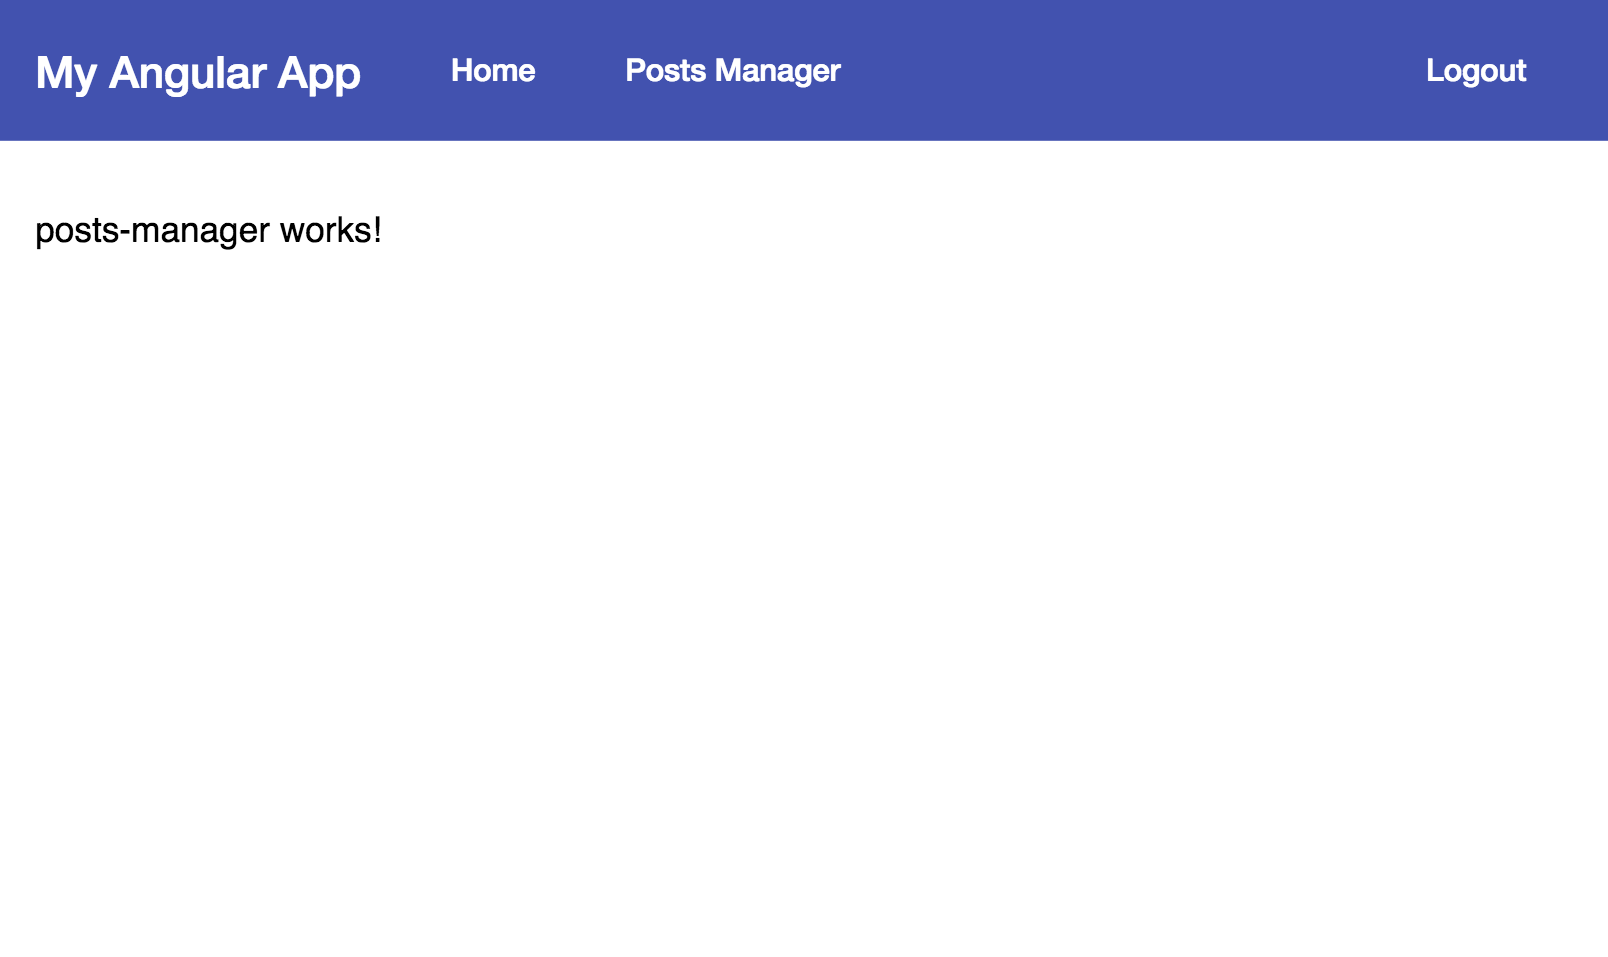
You should now be able to log in and out via Okta, and you should only be able to access the Posts Manager page once you’re authenticated. When you click the Login button or try to go to the Posts Manager, you’ll be redirected to your Okta organization URL to handle authentication. You can log in with the same credentials you use in your developer console.
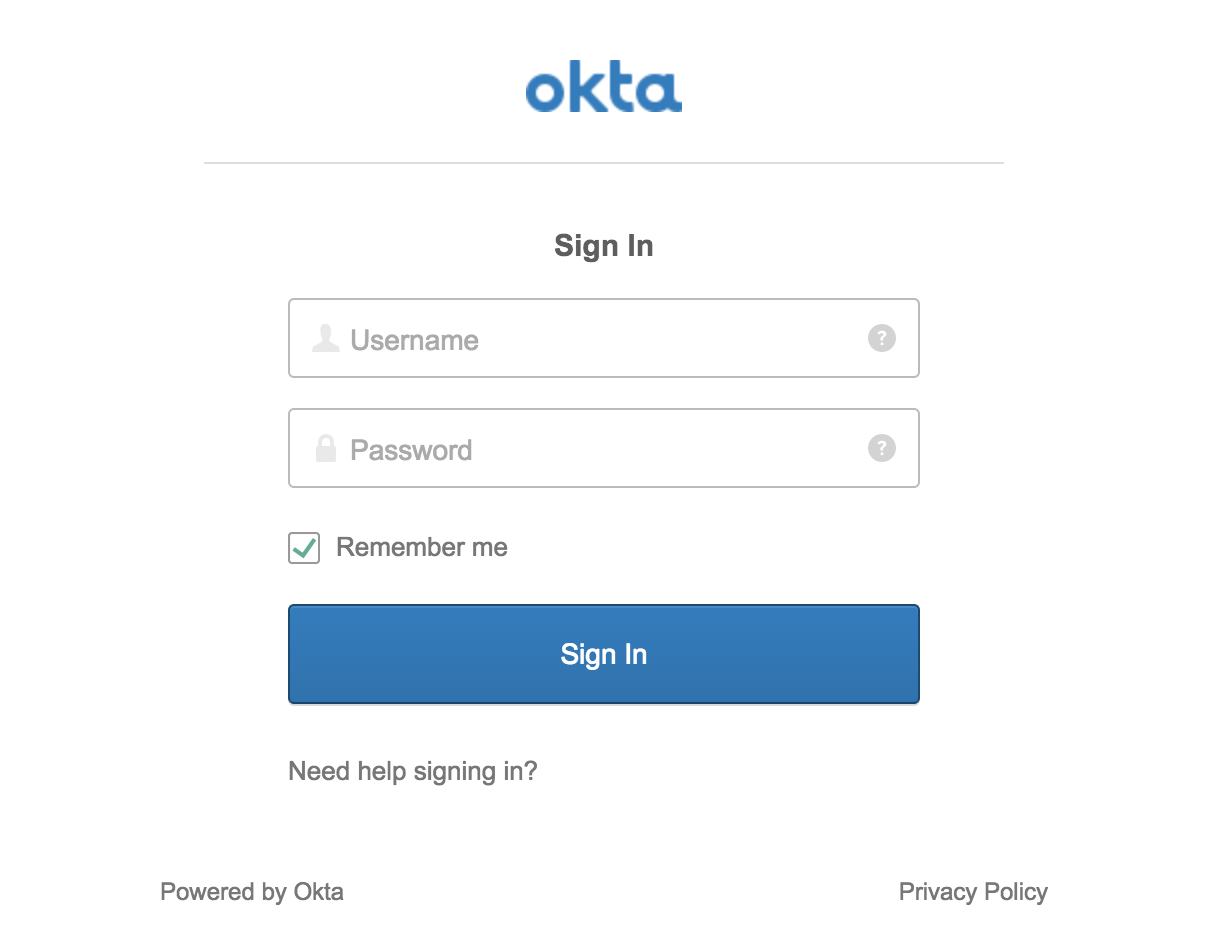
Your app should now look like this:
Add a Backend REST API Server
Now that users can securely authenticate, you can build the REST API server to perform CRUD operations on a post model. You’ll need to add quite a few dependencies to your project at this point:
# dependencies
npm i @okta/jwt-verifier@0.0.12 body-parser@1.18.3 cors@2.8.4 epilogue@0.7.1 express@4.16.3 sequelize@4.38.0 sqlite@2.9.2

# dev dependencies (-D is short for --save-dev)
npm i -D npm-run-all@4.1.3 nodemon@1.18.3
Create a new folder for the server under the src directory:
mkdir src/server
Now create a new file src/server/index.js. To keep this simple we will just use a single file, but you could have a whole subtree of files in this folder. Keeping it in a separate folder lets you watch for changes just in this subdirectory and reload the server only when making changes to this file, instead of anytime any file in src changes. I’ll post the whole file and then explain some key sections below.
src/server/index.js
const express = require('express');
const cors = require('cors');
const bodyParser = require('body-parser');
const Sequelize = require('sequelize');
const epilogue = require('epilogue');
const OktaJwtVerifier = require('@okta/jwt-verifier');

const { oktaClientId, oktaOrgURL } = require('../environments/.env.js');

const oktaJwtVerifier = new OktaJwtVerifier({
  clientId: oktaClientId,
  issuer: `{yourOktaDomain}/oauth2/default`
});

const app = express();
app.use(cors());
app.use(bodyParser.json());

app.use(async (req, res, next) => {
  try {
    if (!req.headers.authorization)
      throw new Error('Authorization header is required');

    const accessToken = req.headers.authorization.trim().split(' ')[1];
    await oktaJwtVerifier.verifyAccessToken(accessToken);
    next();
  } catch (error) {
    next(error.message);
  }
});

const database = new Sequelize({
  dialect: 'sqlite',
  storage: './test.sqlite'
});

const Post = database.define('posts', {
  title: Sequelize.STRING,
  body: Sequelize.TEXT
});

epilogue.initialize({ app, sequelize: database });

epilogue.resource({
  model: Post,
  endpoints: ['/posts', '/posts/:id']
});

const port = process.env.SERVER_PORT || 4201;

database.sync().then(() => {
  app.listen(port, () => {
    console.log(`Listening on port ${port}`);
  });
});
This sets up the JWT verifier using your okta credentials.
const { oktaClientId, oktaOrgURL } = require('../environments/.env.js');

const oktaJwtVerifier = new OktaJwtVerifier({
  clientId: oktaClientId,
  issuer: `{yourOktaDomain}/oauth2/default`
});
This sets up the HTTP server and adds some settings to allow for Cross-Origin Resource Sharing (CORS) and will automatically parse JSON.
const app = express();
app.use(cors());
app.use(bodyParser.json());
Here is where you check that a user is properly authenticated. First, throw an error if there is no Authorization header, which is how you will send the authorization token. The token will actually look like Bearer aLongBase64String. You want to pass the Base 64 string to the Okta JWT Verifier to check that the user is properly authenticated. The verifier will initially send a request to the issuer to get a list of valid signatures, and will then check locally that the token is valid. On subsequent requests, this can be done locally unless it finds a claim that it doesn’t have signatures for yet.
If everything looks good, the call to next() tells Express to go ahead and continue processing the request. If however, the claim is invalid, an error will be thrown. The error is then passed into next to tell Express that something went wrong. Express will then send an error back to the client instead of proceeding.
app.use(async (req, res, next) => {
  try {
    if (!req.headers.authorization)
      throw new Error('Authorization header is required');

    const accessToken = req.headers.authorization.trim().split(' ')[1];
    await oktaJwtVerifier.verifyAccessToken(accessToken);
    next();
  } catch (error) {
    next(error.message);
  }
});
Here is where you set up Sequelize. This is a quick way of creating database models. You can Sequelize with a wide variety of databases, but here you can just use SQLite to get up and running quickly without any other dependencies.
const database = new Sequelize({
  dialect: 'sqlite',
  storage: './test.sqlite'
});

const Post = database.define('posts', {
  title: Sequelize.STRING,
  body: Sequelize.TEXT
});
Epilogue works well with Sequelize and Express. It binds the two together like glue, creating a set of CRUD endpoints with just a couple lines of code. First, you initialize Epilogue with the Express app and the Sequelize database model. Next, you tell it to create your endpoints for the Post model: one for a list of posts, which will have POST and GET methods; and one for individual posts, which will have GET, PUT, and DELETE methods.
epilogue.initialize({ app, sequelize: database });

epilogue.resource({
  model: Post,
  endpoints: ['/posts', '/posts/:id']
});
The last part of the server is where you tell Express to start listening for HTTP requests. You need to tell sequelize to initialize the database, and when it’s done it’s OK for Express to start listening on the port you decide. By default, since the Angular app is using 4200, we’ll just add one to make it port 4201.
const port = process.env.SERVER_PORT || 4201;

database.sync().then(() => {
  app.listen(port, () => {
    console.log(`Listening on port ${port}`);
  });
});
Now you can make a couple small changes to package.json to make it easier to run both the frontend and backend at the same time. Replace the default start script and add a couple others, so your scripts section looks like this:
package.json
  "scripts": {
    "ng": "ng",
    "start": "npm-run-all --parallel watch:server start:web",
    "start:web": "ng serve",
    "start:server": "node src/server",
    "watch:server": "nodemon --watch src/server src/server",
    "build": "ng build",
    "test": "ng test",
    "lint": "ng lint",
    "e2e": "ng e2e"
  },
Now you can simply run npm start and both the server and the Angular app will run at the same time, reloading whenever relevant changes are made. If you need to change the port for any reason, you can change the Angular app’s port and the server’s port with the PORT and SERVER_PORT environment variables, respectively. For example, PORT=8080 SERVER_PORT=8081 npm start.
Add the Posts Manager Page
Now that you have a backend to manage your posts, you can link up the frontend by adding another page. This will send requests to fetch, create, edit, and delete posts. It will also send the required authorization token along with each request so the server knows that you’re a valid user.
There are a couple utilities that will come in handy, so go ahead and add those as dependencies:
npm i lodash@4.17.10 moment@2.22.2
You’ll also need a few more Material modules, as well as a Forms module that comes with angular:
src/app/app.module.ts
@@ -2,9 +2,14 @@ import { BrowserModule } from '@angular/platform-browser';
 import { BrowserAnimationsModule } from '@angular/platform-browser/animations';
 import { Routes, RouterModule } from '@angular/router';
 import { NgModule } from '@angular/core';
+import { FormsModule } from '@angular/forms';
 import {
   MatToolbarModule,
   MatButtonModule,
+  MatIconModule,
+  MatExpansionModule,
+  MatFormFieldModule,
+  MatInputModule,
 } from '@angular/material';
 import { OktaAuthModule, OktaCallbackComponent } from '@okta/okta-angular';

@@ -46,8 +51,14 @@ const appRoutes: Routes = [
     BrowserModule,
     BrowserAnimationsModule,

+    FormsModule,
+
     MatToolbarModule,
     MatButtonModule,
+    MatIconModule,
+    MatExpansionModule,
+    MatFormFieldModule,
+    MatInputModule,

     RouterModule.forRoot(appRoutes),
     OktaAuthModule.initAuth(oktaConfig),
Create a Post Class
Create a new file in the posts-manager folder to define what a Post should look like. The Post class will contain some data as well as have some functions to help manage the post itself. Again, I’ll show you the full file then explain each part in detail:
src/app/posts-manager/post.ts
import * as moment from 'moment';

import { PostsManagerComponent } from './posts-manager.component';

export interface PostData {
  id?: number;
  title?: string;
  body?: string;
  updatedAt?: string;
}

export class Post implements PostData {
  id: number;
  title: string;
  body: string;
  updatedAt: string;

  loading = false;
  open = false;

  constructor(private data: PostData, private manager: PostsManagerComponent) {
    Object.assign(this, this.data);
  }

  get isDirty(): boolean {
    return this.data.title !== this.title || this.data.body !== this.body;
  }

  get updatedAtString(): string {
    const { updatedAt } = this;
    return updatedAt ? `Updated ${moment(updatedAt).fromNow()}` : '';
  }

  serialize(data: Post | PostData = this) {
    const { id, title, body, updatedAt } = data;
    return { id, title, body, updatedAt };
  }

  toJSON() {
    return this.serialize();
  }

  reset() {
    Object.assign(this, this.serialize(this.data));
  }

  async save() {
    this.loading = true;

    const data = await this.manager.api.savePost(this);

    if (data) {
      Object.assign(this.data, data);
      this.reset();
    }

    this.loading = false;
  }

  async delete() {
    this.loading = true;

    if (await this.manager.api.deletePost(this)) {
      this.manager.posts.splice(this.manager.posts.indexOf(this), 1);
    }

    this.loading = false;
  }
}
TypeScript allows you to define interfaces, or types, to define how some data should look. In this case, all the data fields are optional (the ? at the end of the key): in a new post, none of these values will exist yet.
export interface PostData {
  id?: number;
  title?: string;
  body?: string;
  updatedAt?: string;
}
You can also ensure that a class implements an interface. This means you will get an error unless the class you’re creating has the fields that are required in the interface. It also means that if something is expecting PostData, then a Post should work as well because it’s guaranteed to have the same fields.
export class Post implements PostData {
  id: number;
  title: string;
  body: string;
  updatedAt: string;

  // ...
}
The template that renders the posts will use open to determine whether it should be showing details for the post, and loading to determine whether certain elements should be disabled or not.
loading = false;
open = false;
The Post will need to access a few properties from the Post Manager. For one, this lets you delete a post from the Post class itself. Also, the Post Manager will have a service injected into it that connects to the backend. By setting private data: PostData in the constructor, you’re saying that the Post Manager should pass in some data, and it will get assigned to this.data (likewise, the Post Manager should pass itself in, and it will get assigned to this.manager).
The Object.assign call takes the values on data and assigns them to itself. Initially then, this.title should be identical to this.data.title. By creating a getter function of isDirty, that allows you to check if the data has changed at all, so you know if it needs to be saved.
  constructor(private data: PostData, private manager: PostsManagerComponent) {
    Object.assign(this, this.data);
  }

  get isDirty(): boolean {
    return (
      this.data.title !== this.title ||
      this.data.body !== this.body
    );
  }
The updatedAt value will just be a machine-readable date string. It doesn’t look very pretty though. You can use moment to format it in a way that is nicer for humans to read. The following will give you strings like Updated a few seconds ago or Updated 2 days ago.
  get updatedAtString(): string {
    const { updatedAt } = this;
    return updatedAt ? `Updated ${moment(updatedAt).fromNow()}` : '';
  }
There are a couple points where you’ll need to send data to the backend, but you won’t want to send a bunch of extra information. Here is a function that will serialize the data you give it, and by default it just gets the data from itself. The toJSON function is called automatically within JSON.stringify, so anything that tries to serialize a Post won’t have to type Post.serialize() - it will just work like magic!
The reset function will be used by a “Cancel” button to update the properties on the Post back to its original values.
  serialize(data: Post | PostData = this) {
    const { id, title, body, updatedAt } = data;
    return { id, title, body, updatedAt };
  }

  toJSON() {
    return this.serialize();
  }

  reset() {
    Object.assign(this, this.serialize(this.data));
  }
The save and delete functions are asynchronous. First, it flags the Post as loading to trigger the UI changes. Then it sends a request to the API to either save or delete the post. Once it’s done, it sets loading back to false to trigger another UI update.
If the save function is successful, it will update the data variable with its new data returned from the REST API. Then it will reset itself to make sure the data is in sync with the Post.
If the delete function is successful, the Post will remove itself from the Post Manager’s list of posts.
  async save() {
    this.loading = true;

    const data = await this.manager.api.savePost(this);

    if (data) {
      Object.assign(this.data, data);
      this.reset();
    }

    this.loading = false;
  }

  async delete() {
    this.loading = true;

    if (await this.manager.api.deletePost(this)) {
      this.manager.posts.splice(this.manager.posts.indexOf(this), 1);
    }

    this.loading = false;
  }
Create a Post API Service
Your API locally will be hosted at http://localhost:4201. However, this might change if you’re deploying it on another server somewhere in production. For now, add an api variable to your environments file:
src/environments/environment.ts
@@ -6,6 +6,7 @@ import dotenvVariables from './.env.js';

 export const environment = {
   production: false,
+  api: 'http://localhost:4201',
   ...dotenvVariables,
 };
You can create a new service with the Angular CLI using ng generate service PostAPI within the posts-manager folder. This will create a couple of files. Modify post-api.service.ts to look like the following:
src/app/posts-manager/post-api.service.ts
import { Injectable } from '@angular/core';
import { OktaAuthService } from '@okta/okta-angular';

import { environment } from '../../environments/environment';
import { Post } from './post';

@Injectable({
  providedIn: 'root'
})
export class PostAPIService {
  constructor(private oktaAuth: OktaAuthService) {}

  private async fetch(method: string, endpoint: string, body?: any) {
    try {
      const response = await fetch(`${environment.api}${endpoint}`, {
        method,
        body: body && JSON.stringify(body),
        headers: {
          'content-type': 'application/json',
          accept: 'application/json',
          authorization: `Bearer ${await this.oktaAuth.getAccessToken()}`
        }
      });
      return await response.json();
    } catch (error) {
      console.error(error);
    }
  }

  async getPosts() {
    return (await this.fetch('get', '/posts')) || [];
  }

  async savePost(post: Post) {
    return post.id
      ? this.fetch('put', `/posts/${post.id}`, post)
      : this.fetch('post', '/posts', post);
  }

  async deletePost(post: Post) {
    if (window.confirm(`Are you sure you want to delete "${post.title}"`)) {
      await this.fetch('delete', `/posts/${post.id}`);
      return true;
    }

    return false;
  }
}
The @Injectable decorator allows for this service to be injected into a component via the constructor.
@Injectable({
  providedIn: 'root'
})
Here you’re setting up a simple helper function to send a request to the server. This uses the fetch function that’s built into all modern browsers. The helper accepts a method (e.g. get, post, delete), an endpoint (here it would either be /posts or a specific post like /posts/3), and a body (some optional JSON value, in this case the post content).
Since this is just a helper function and should only be used internally within this service, we make the function private.
This also sets some headers to tell the backend that any body it sends will be in JSON format, and it sets the authorization header by fetching the access token from Okta. Okta returns a promise, so we need to await the response.
private async fetch(method: string, endpoint: string, body?: any) {
  try {
    const response = await fetch(`${environment.api}${endpoint}`, {
      method,
      body: body && JSON.stringify(body),
      headers: {
        'content-type': 'application/json',
        accept: 'application/json',
        authorization: `Bearer ${await this.oktaAuth.getAccessToken()}`,
      },
    });
    return await response.json();
  } catch (error) {
    console.error(error);
  }
}
The other functions (getPosts, savePost, and deletePost) use the fetch helper to access the API.
The getPosts function makes sure to return an empty array in case there is an error fetching (the error will be logged to the console).
If savePost is given a post without an ID, that means it’s a new post, so it sends a POST request to the REST API. Otherwise, it uses PUT to update the post.
Before actually deleting a post, deletePost will send a message to the user via the browser’s built-in confirm function. This is probably not the best way to do this from a User Experience perspective as it blocks the UI, but it’s a quick and dirty way of getting a response without writing a lot of extra code.
  async getPosts() {
    return (await this.fetch('get', '/posts')) || [];
  }

  async savePost(post: Post) {
    return post.id
      ? this.fetch('put', `/posts/${post.id}`, post)
      : this.fetch('post', '/posts', post);
  }

  async deletePost(post: Post) {
    if (window.confirm(`Are you sure you want to delete "${post.title}"`)) {
      await this.fetch('delete', `/posts/${post.id}`);
      return true;
    }

    return false;
  }
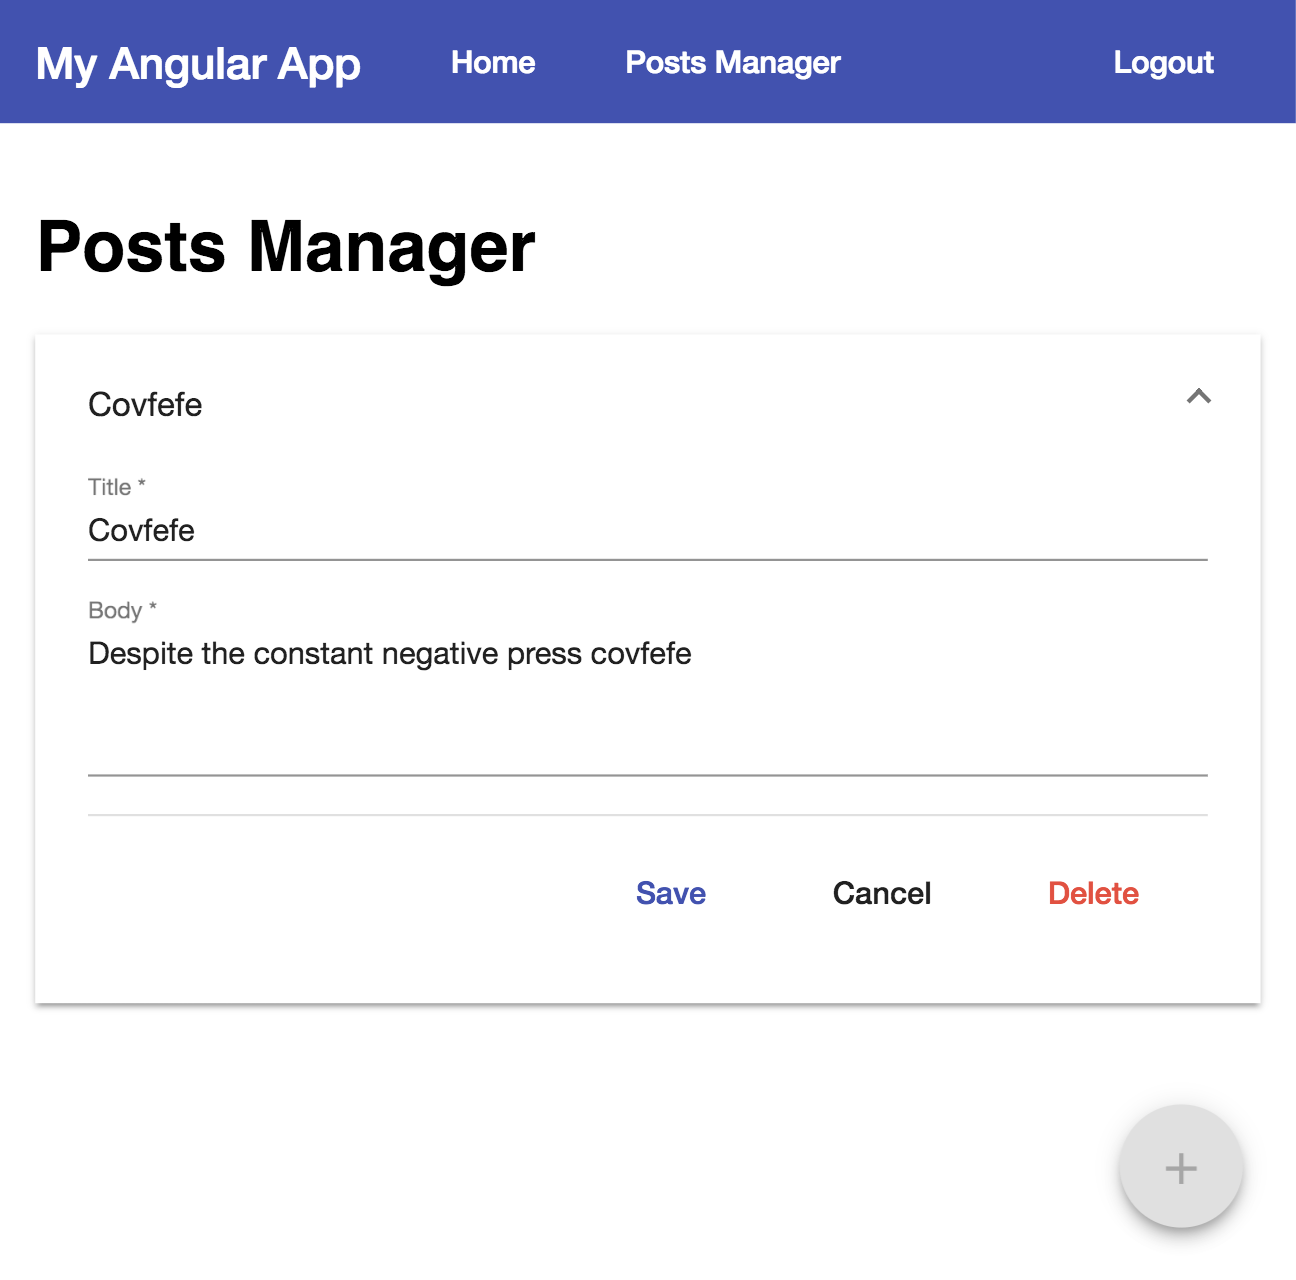
Write the Posts Manager Page
You should now have all the pieces needed to create the Posts Manager. In your Posts Manager class, you’ll need to inject the API Service to access the API. When the component is initialized, it will fetch a list of posts and create Post objects from those, then set it as a public value that can be accessed within the template.
In order to add a new post, there will be a button that you can click. It will need an addPost function in order to create the new post. In this case, if you’re already editing a post, just have it open that post instead of creating another new one. You can also make sure the posts are sorted with the most recent posts at the top.
src/app/posts-manager/posts-manager.component.ts
import { Component, OnInit } from '@angular/core';
import { sortBy } from 'lodash';

import { Post } from './post';
import { PostAPIService } from './post-api.service';

@Component({
  selector: 'app-posts-manager',
  templateUrl: './posts-manager.component.html',
  styleUrls: ['./posts-manager.component.css']
})
export class PostsManagerComponent implements OnInit {
  posts: Post[] = [];

  constructor(public api: PostAPIService) {}

  async ngOnInit() {
    // Do the initial fetch of posts, and map them to Post objects
    this.posts = (await this.api.getPosts()).map(data => new Post(data, this));
  }

  // The add button will be disabled if you're already editing a new post and it's open
  get newIsOpen() {
    const newPost = this.posts.find(post => !post.id);
    return !!(newPost && newPost.open);
  }

  // If you're already editing a post, but it's closed, then trigger the UI to open it
  addPost() {
    let newPost = this.posts.find(post => !post.id);

    if (!newPost) {
      // Create a new, empty post and add it to the beginning of the list of posts
      newPost = new Post({}, this);
      this.posts.unshift(newPost);
    }

    newPost.open = true;
  }

  get sortedPosts() {
    return sortBy(this.posts, ['updatedAt']).reverse();
  }
}
The template is a bit more complex, so I’ll explain the various pieces. Here’s what it should look like in full:
src/app/posts-manager/posts-manager.component.html
<h1>Posts Manager</h1>
<mat-accordion>
  <mat-expansion-panel
    *ngFor="let post of sortedPosts"
    [expanded]="post.open"
    (opened)="post.open = true"
    (closed)="post.open = false"
  >
    <mat-expansion-panel-header>
      <mat-panel-title>{{post.title || '(new post)'}}</mat-panel-title>
      <mat-panel-description>
        {{post.updatedAtString}}
      </mat-panel-description>
    </mat-expansion-panel-header>
    <form>
      <div class="input-container">
        <mat-form-field>
          <input
            matInput
            [(ngModel)]="post.title"
            name="title"
            placeholder="Title"
            required
          />
        </mat-form-field>
        <mat-form-field>
          <textarea
            matInput
            placeholder="Body"
            required
            [(ngModel)]="post.body"
            name="body"
            cdkTextareaAutosize
            cdkAutosizeMinRows="4"
            cdkAutosizeMaxRows="10"
          ></textarea>
        </mat-form-field>
      </div>
      <mat-action-row>
        <button
          mat-button
          color="primary"
          [disabled]="post.loading || !post.isDirty"
          (click)="post.save()"
        >
          <span *ngIf="post.loading">Saving...</span>
          <span *ngIf="!post.loading">Save</span>
        </button>
        <button
          mat-button
          type="button"
          [disabled]="post.loading || !post.isDirty"
          (click)="post.reset()"
        >
          Cancel
        </button>
        <button
          mat-button
          type="button"
          color="warn"
          [disabled]="post.loading"
          (click)="post.delete()"
        >
          Delete
        </button>
      </mat-action-row>
    </form>
  </mat-expansion-panel>
</mat-accordion>
<button mat-fab class="add-button" (click)="addPost()" [disabled]="newIsOpen">
  <mat-icon aria-label="Create new post">add</mat-icon>
</button>
The Accordion (mat-accordion) allows you to create items that expand and contract with an animation. It should typically only show one item expanded at a time, except during the transition.
The Expansion Panel (mat-expansion-panel) creates a list of items. You can click on one of the items to expand it. The *ngFor directive tells Angular that it should create a new one of these for each post in sortedPosts.
The brackets ([]) around an attribute tells Angular that you want to assign a value to that parameter. In this case, whenever post.open changes, it updates expanded.
The parentheses (()) around an attribute tells Angular that you want to react to changes from a value. In this case, whenever opened is triggered, open will be set to true for that particular Post. Likewise, when the panel is closed, post.open is set to false.
<mat-accordion>
  <mat-expansion-panel
    *ngFor="let post of sortedPosts"
    [expanded]="post.open"
    (opened)="post.open = true"
    (closed)="post.open = false"
  >
    <!-- ... -->
  </mat-expansion-panel>
</mat-accordion>
The Expansion Panel Header (mat-expansion-panel-header) is the part of the panel that is always shown. This is where you set the title of the post and a very brief description.
<mat-expansion-panel-header>
  <mat-panel-title>{{post.title || '(new post)'}}</mat-panel-title>
  <mat-panel-description>
    {{post.updatedAtString}}
  </mat-panel-description>
</mat-expansion-panel-header>
When using Angular Forms, the form element automatically handles forms in a more Single-Page App friendly way, rather than defaulting to sending POST data to the URL. Inside the form element we put our models.
The matInput directive uses Material Design’s inputs to make it much more stylish. Without it, you just get a basic input box, but with it, you get floating placeholders, better error handling, and styling that matches the rest of the UI.
Earlier you saw that wrapping an attribute with [] meant that it would set some values. Wrapping it in () meant that it could receive values. For two-way binding, you can wrap the attribute in both, and ngModel is a form directive. Putting it all together, [(ngModel)] will update the input whenever the Post values change and will update the Post whenever a user changes the input values.
The input-container class will allow us to easily style the container later.
<div class="input-container">
  <mat-form-field>
    <input
      matInput
      [(ngModel)]="post.title"
      name="title"
      placeholder="Title"
      required
    />
  </mat-form-field>
  <mat-form-field>
    <textarea
      matInput
      placeholder="Body"
      required
      [(ngModel)]="post.body"
      name="body"
      cdkTextareaAutosize
      cdkAutosizeMinRows="4"
      cdkAutosizeMaxRows="10"
    ></textarea>
  </mat-form-field>
</div>
Also inside the form are the action buttons. By keeping them inside the form element you get the bonus of having the submit button work when you press the Enter key on your keyboard.
The mat-action-row component creates a separate row and puts the buttons off to the side.
Here the “Cancel” button will trigger the post to reset back to the original values. Since it only makes sense to reset the values if they are different from the original, we check to see if the post isDirty. You also wouldn’t want to reset values while it’s in the middle of saving or deleting, so you can check for post.loading as well.
The “Save” button makes sense to be disabled for the same reasons as the “Cancel” button, so it uses the same logic for disabled. When you click the button, it should tell the post to save. In case the save times are taking a while, you can update the UI to show either Saving... while the post is loading, or Save otherwise. To do that, use the special *ngIf directive.
The “Delete” button should be disabled if the post is waiting on an API response but otherwise shouldn’t care if the post is dirty or not.
<mat-action-row>
  <button
    mat-button
    color="primary"
    [disabled]="post.loading || !post.isDirty"
    (click)="post.save()"
  >
    <span *ngIf="post.loading">Saving...</span>
    <span *ngIf="!post.loading">Save</span>
  </button>
  <button
    mat-button
    type="button"
    [disabled]="post.loading || !post.isDirty"
    (click)="post.reset()"
  >
    Cancel
  </button>
  <button
    mat-button
    type="button"
    color="warn"
    [disabled]="post.loading"
    (click)="post.delete()"
  >
    Delete
  </button>
</mat-action-row>
In order to add a new post, you need a button. Material Design often has a Floating Action Button (FAB) at the bottom-right of the screen. Adding a class add-button will make it easier to style this later. When the post is already
<button mat-fab class="add-button" (click)="addPost()" [disabled]="newIsOpen">
  <mat-icon aria-label="Create new post">add</mat-icon>
</button>
A Touch of Style
Just to wrap up the Posts Manager component, add a little bit of styling. Above, the inputs were wrapped in a div with the class input-container. Adding the following code will make it so the inputs each get their own row, instead of being stacked side by side.
Also, to make the Floating Action Button actually “float”, you’ll want to give it a fixed position in the bottom-right corner of the screen.
src/app/posts-manager/posts-manager.component.css
.input-container {
  display: flex;
  flex-direction: column;
}

.add-button {
  position: fixed;
  right: 24px;
  bottom: 24px;
}
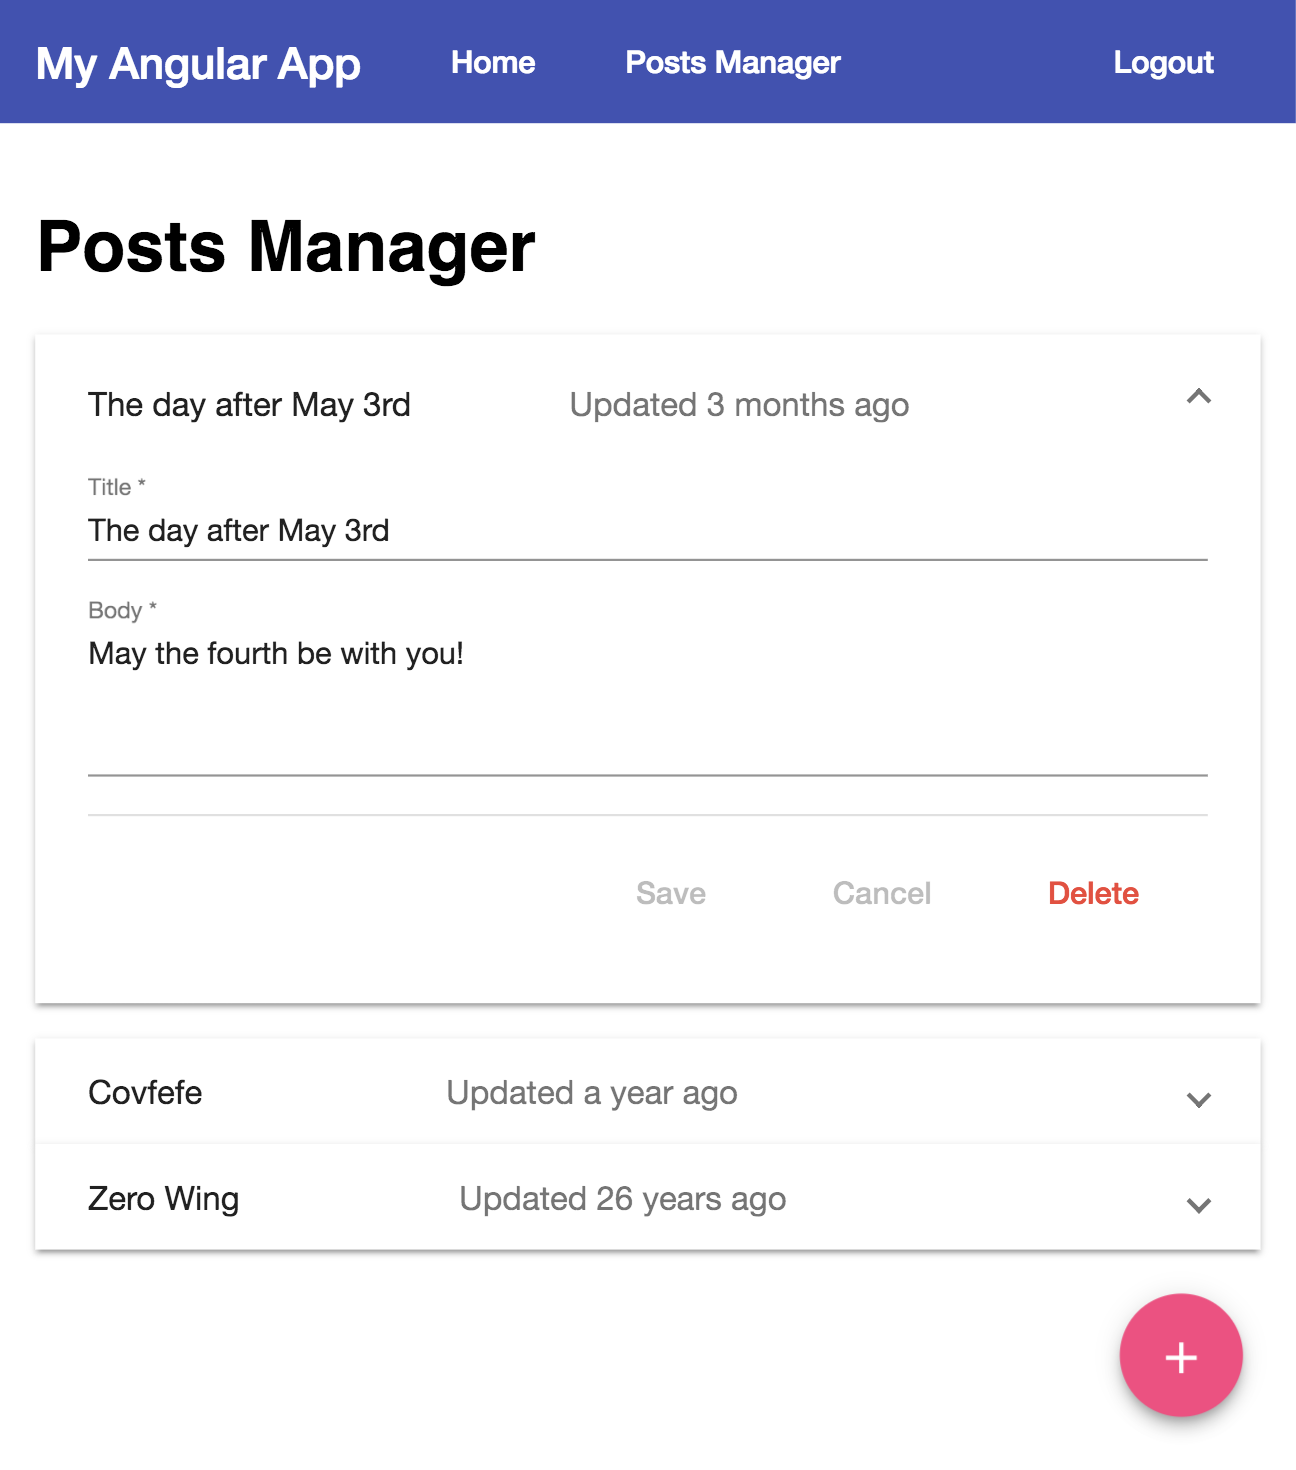
Test your Angular + Node CRUD App
You now have a fully functioning single page app, connected to a REST API server, secured with authentication via Okta’s OIDC.
Go ahead and test out the app now. If they’re not already running, make sure to start the server and the frontend. In your terminal run npm start from your project directory.
Navigate to http://localhost:4200. You should be able to add, edit, view, and delete posts to your heart’s desire!
Learn More About Angular, Node, and App Security
I hope you’ve enjoyed this article and found it helpful. If you’re experimenting with JavaScript frameworks or backend languages and haven’t decided on your stack yet, you may want to check out these similar tutorials:
- Build a Basic CRUD App with Vue.js and Node
- Build a Basic CRUD App with Node and React
- Build a Secure CRUD App with ASP.NET Core and React
- Build a CRUD App with ASP.NET Core and Angular
If you’re itching for more information, check out some of these other great articles or explore the Okta developer blog.
- The Ultimate Guide to Progressive Web Applications
- Tutorial: Build a Basic CRUD App with Node.js
- Build a Basic CRUD App with Angular 5.0 and Spring Boot 2.0
- Angular 6: What’s New, and Why Upgrade
- Add Authentication to Your Angular PWA
And as always, we’d love to hear from you. Hit us up with questions or feedback in the comments, or on Twitter @oktadev.
Okta Developer Blog Comment Policy
We welcome relevant and respectful comments. Off-topic comments may be removed.